Last Updated on January 3, 2019 by Admin
5.2.1.7 Lab – Install Windows 7 or Vista
Lab – Install Windows 7 or Vista (Answer Version)
Introduction
In this lab, you will install the Windows 7 or Vista operating system.
Recommended Equipment
- A computer with a blank hard disk drive
- Windows 7 or Vista installation DVD or USB flash drive
Answer Note: Complete an installation before class to ensure that the process goes smoothly. If installing from a USB flash drive, copy the Windows install files from an ISO disc image to the USB flash drive. Check each student computer to make sure that the BIOS boot sequence is set to boot from the DVD or USB first. To set the BIOS boot sequence, enter the BIOS using the Del key while POST is running. Your computer may use a different key to enter the BIOS. Check the manufacturer’s documentation. Find the screen that displays the boot sequence. If the DVD ROM or USB drive is not listed as the first boot device, add it to the list as the first device or move it to the top of the list. Press F10 to save and exit the BIOS.
Part 1: Windows 7 Installation
Step 1: Starting the Installation Media
a. Insert the Windows 7 installation DVD into the DVD-ROM drive or plug the USB flash drive into a USB port.
b. When the computer starts up, watch for the message Press any key to boot from CD or DVD. If the message appears, press any key on the keyboard to boot the computer from the DVD. If the press any key message does not appear, the computer automatically starts loading files from the DVD.
Answer Note: The computer may boot the DVD without this message.

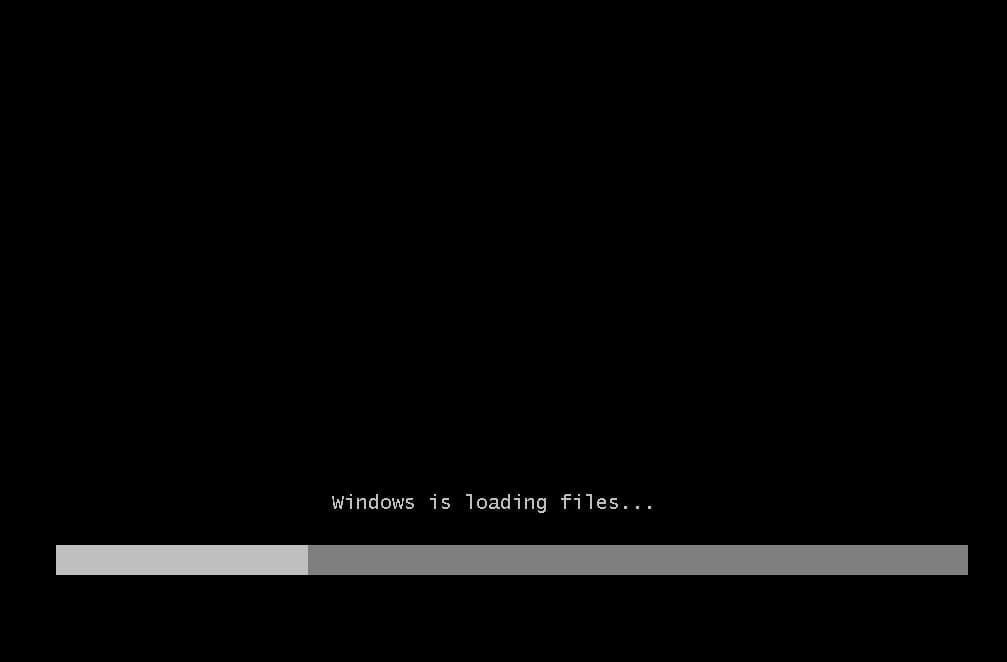
c. The computer starts loading files from the DVD or USB flash drive.
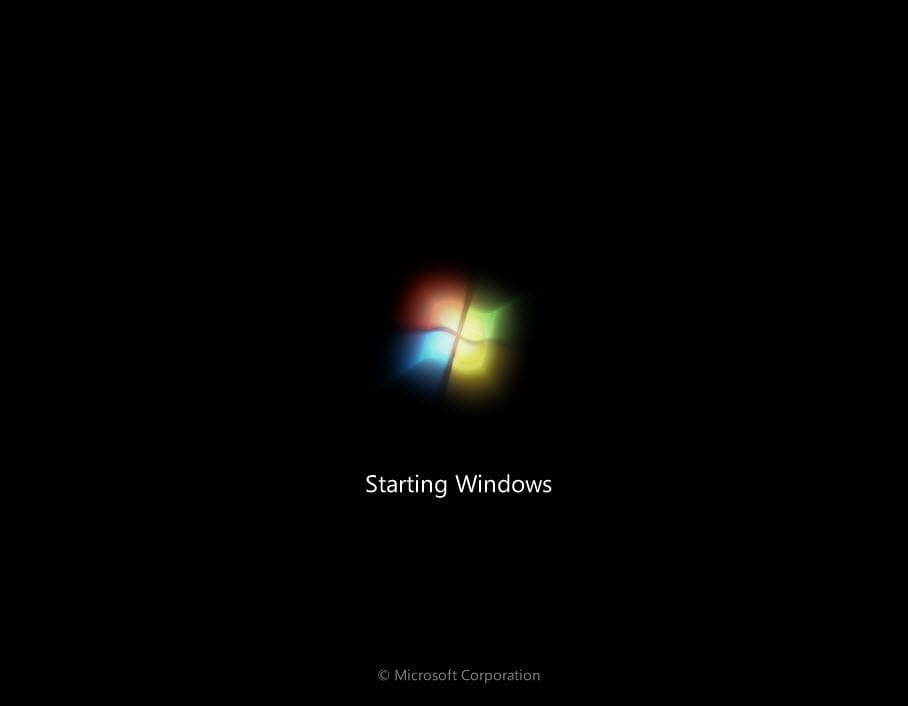
d. The Windows 7 boot screen appears.
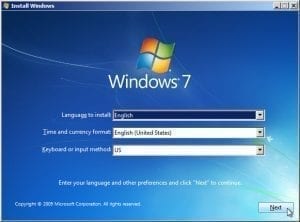
Step 2: Configuring Initial Settings
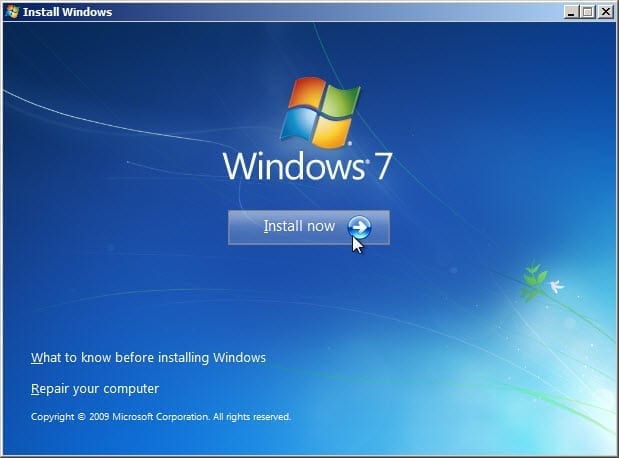
a. The Install Windows window opens. Press Next unless you need to change the default settings.

5.2.1.7 Lab – Install Windows 7 or Vista
b. Press Install now to continue.
Step 3: Collecting Information
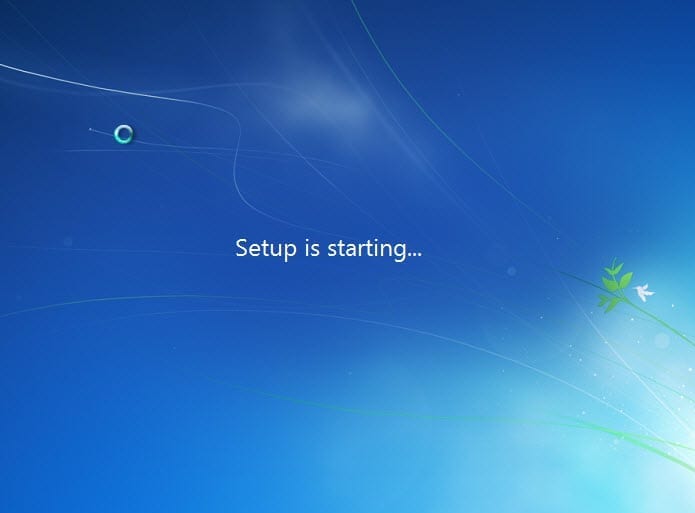
a. The Setup is starting… screen appears.
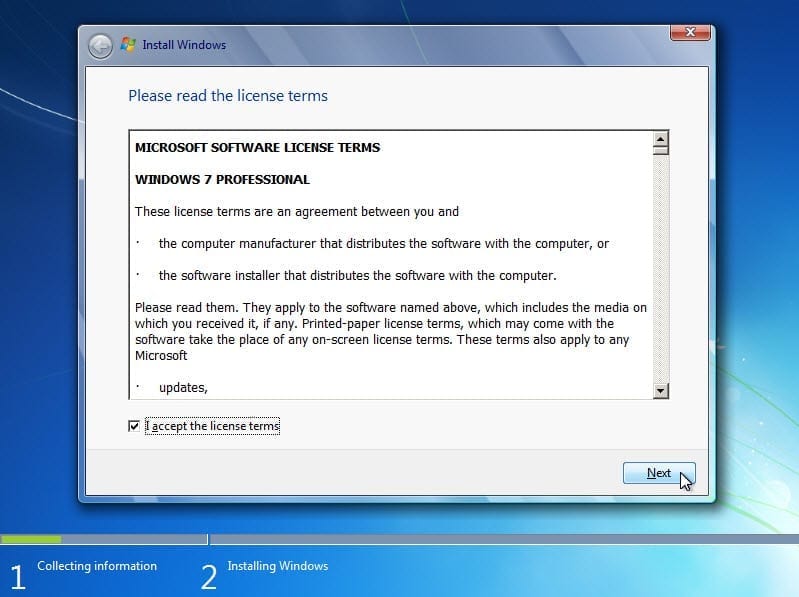
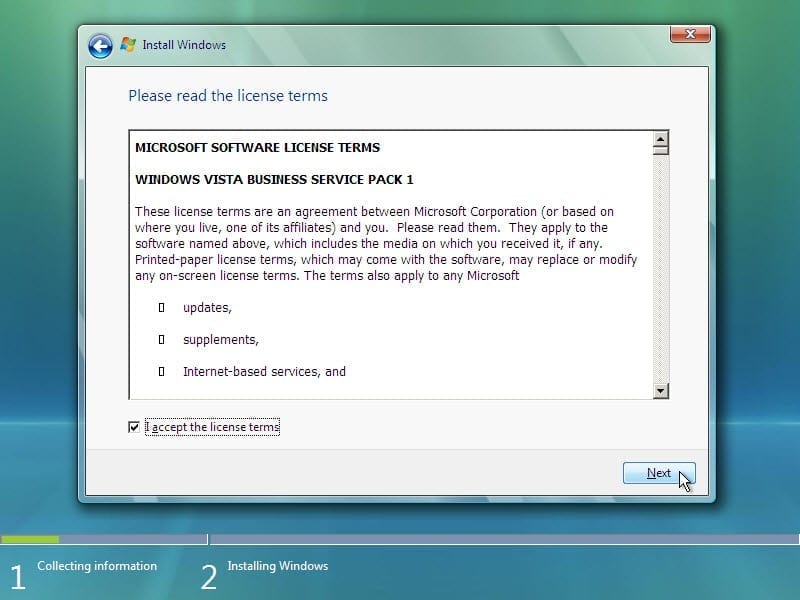
b. The Please read the license terms window opens. Read and confirm that you accept the license by selecting I accept the license terms. Click Next.
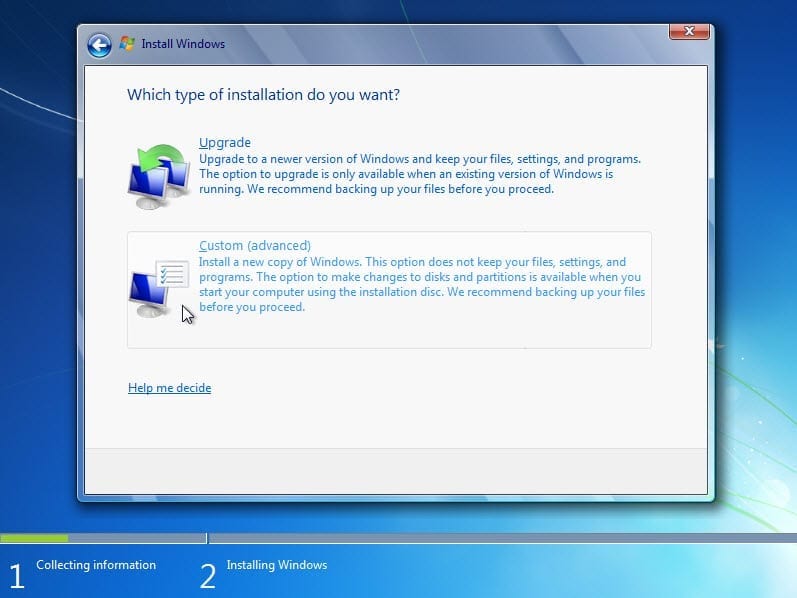
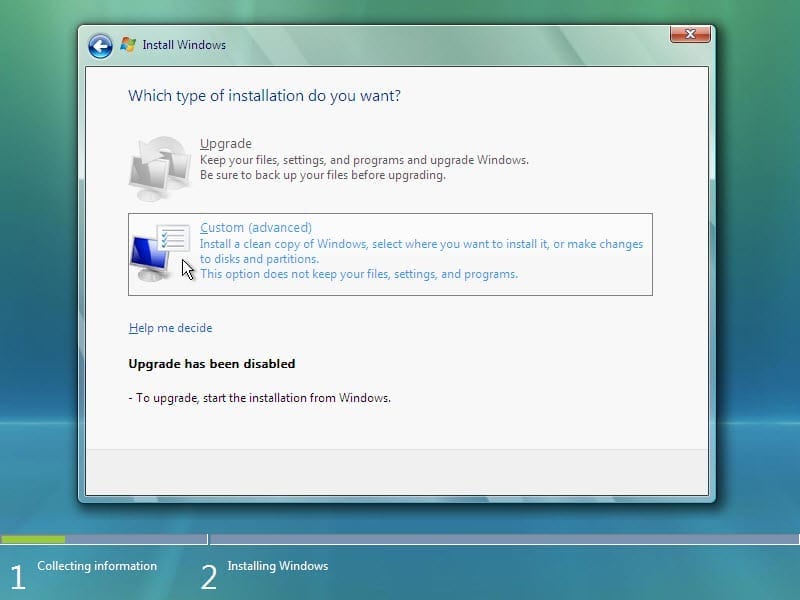
c. When the Which type of installation do you want? window opens, click Custom (advanced) to continue.
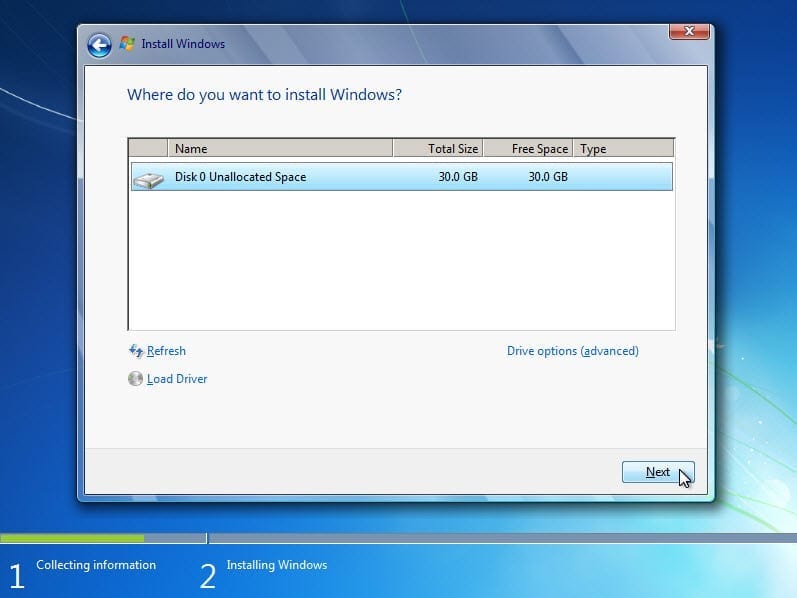
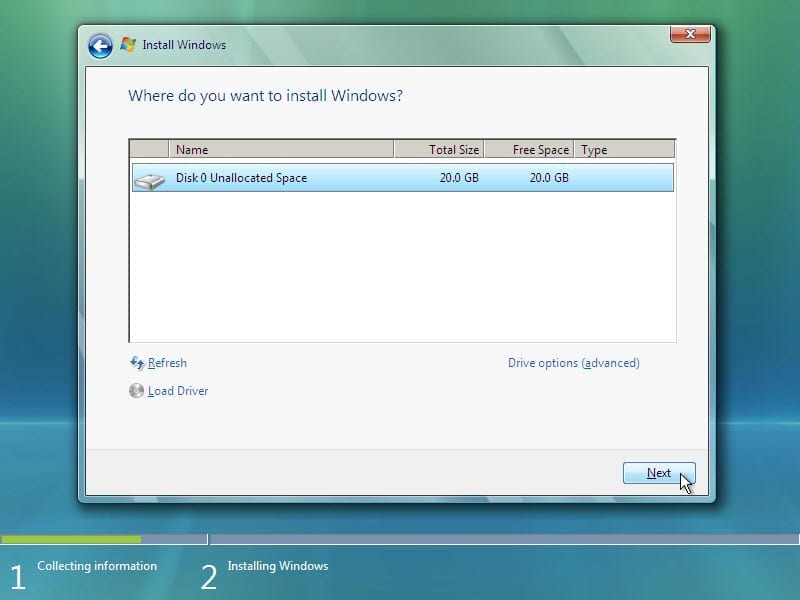
d. The Where do you want to install Windows? window opens. Select the hard drive or partition on which Windows 7 will be installed. Click Next to select Disk 0 Unallocated Space, which is the default setting.
Step 4: Installing Windows
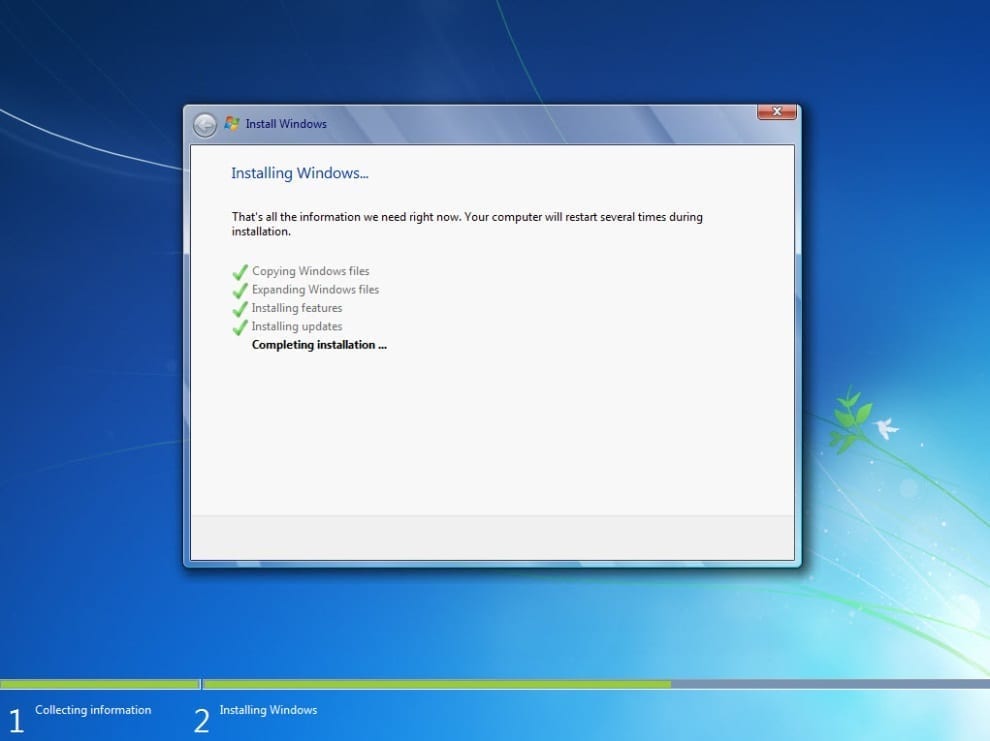
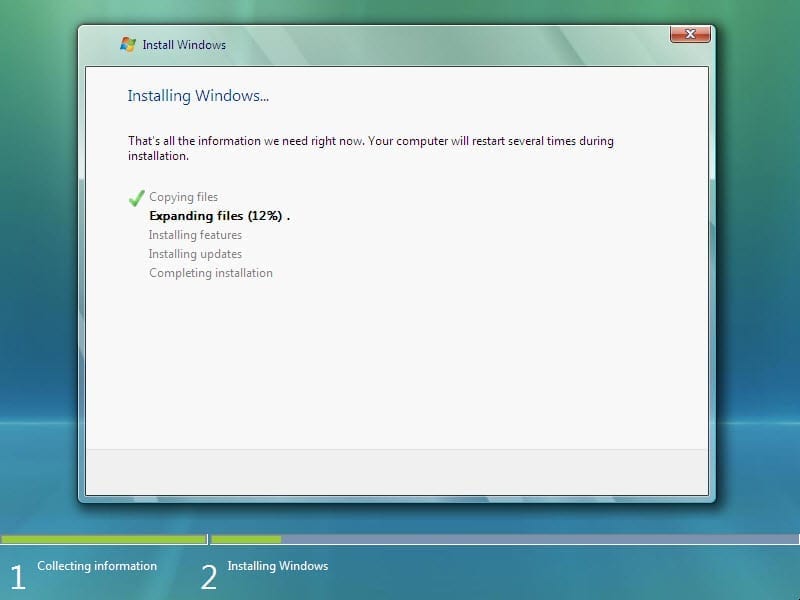
a. The Installing Windows… window opens. Windows 7 Setup may take up to 50 minutes to configure your computer.

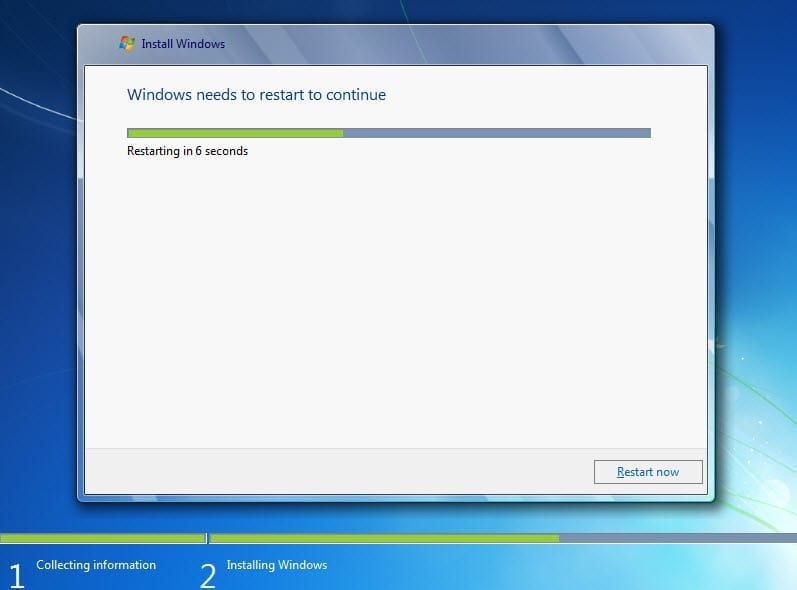
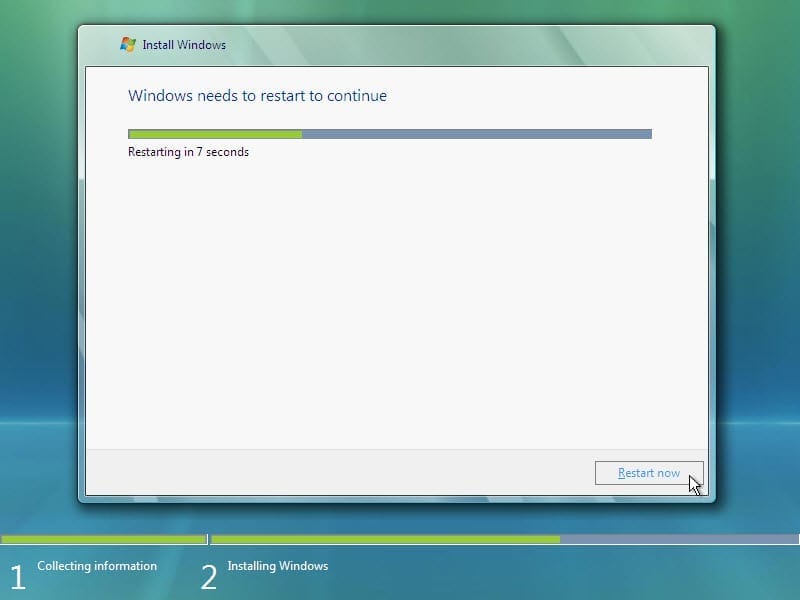
b. The Windows needs to restart to continue window opens. Your computer will automatically restart or you can click Restart now.
c. If you get the message Press any key to boot from CD or DVD…, do not press any key and Windows will boot from the hard disk to continue the installation.

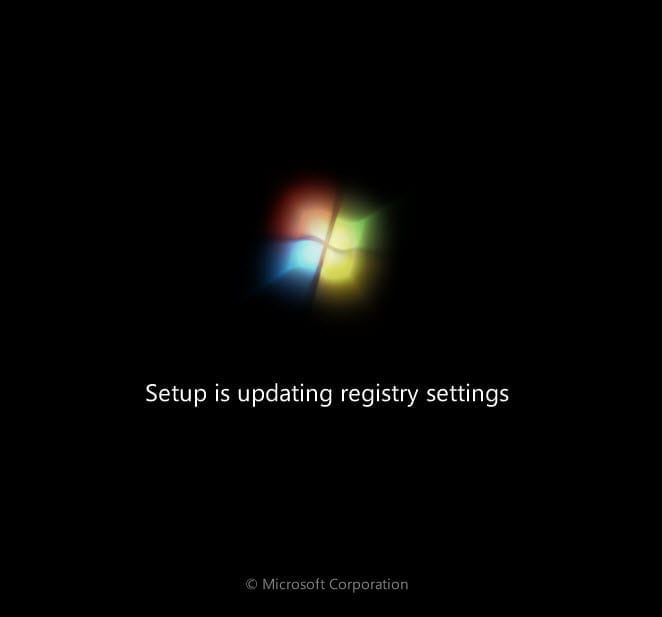
d. The Setup is updating registry settings screen appears.
e. The Setup is starting services screen appears.

f. The Installing Windows… window opens. Windows may reboot a few more times. This may take several minutes.
Step 5: Setting up Windows
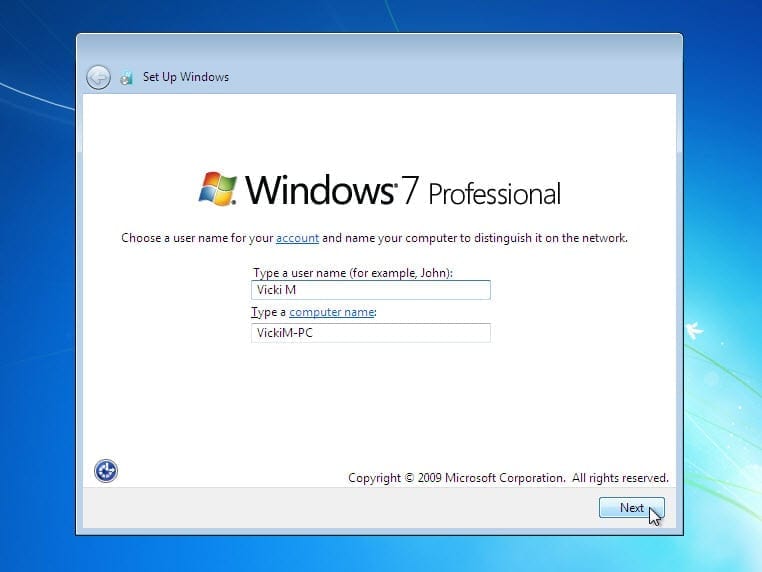
a. Type the user name and computer name provided by your Answer. Click Next.
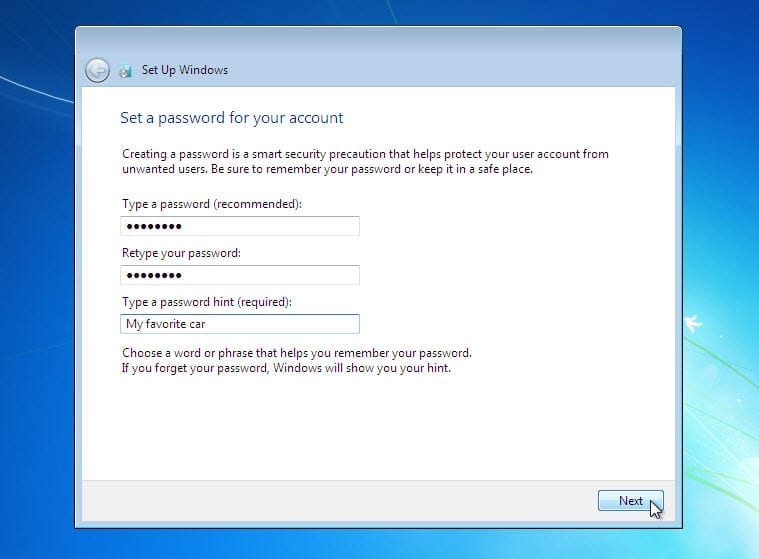
b. The Set a password for your account window opens. Type the password provided by your Answer. Retype the password and enter the password hint. Click Next.
c. The Type your Windows product key window opens. On this page, type your product key. Click Next.
Note: You can find the product key on the case or sleeve in which the Windows DVD was packaged, or you can get it from your Answer.
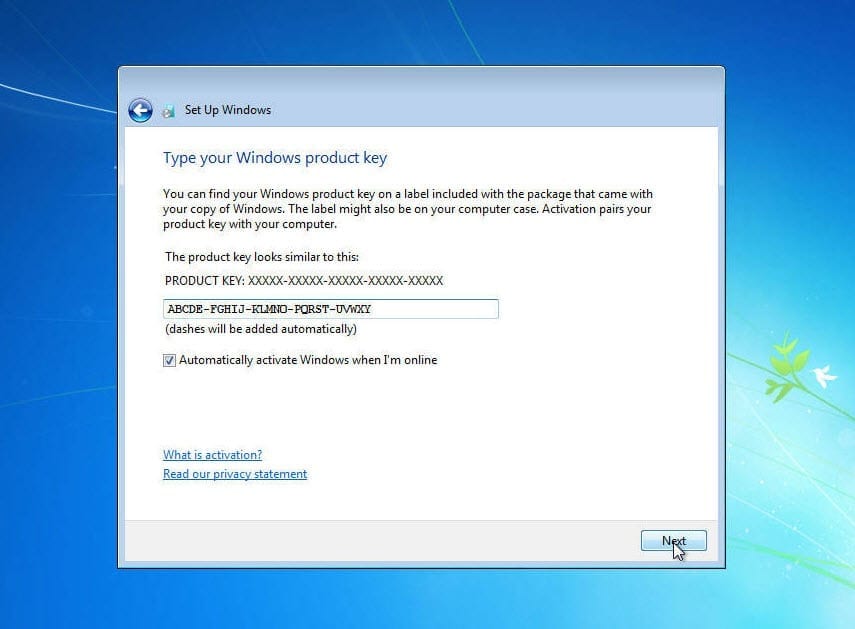
Answer Note: You can optionally enter the product key and choose to allow Windows to automatically activate the Windows 7 installation and tie the product key to the hardware configuration. If you cannot do this for some reason, then do not type in your product key and do not let Windows automatically activate the installation. Here is a reason why you may not want to do this in a lab setting: In the event that something goes wrong with the hardware, or the operating system is being installed several times during the school year (less than 30 day period); you might not want to automatically tie the product key you received with a particular computer. Instead, you can enter this information later. If this is the case, leave the product key field blank and uncheck the item titled Automatically activate Windows when I’m online. Then, click Next.
Note: If you entered your product key, Setup will not ask you the following:
Do you want to enter your product key now? If you were instructed not to enter a product key, click No.
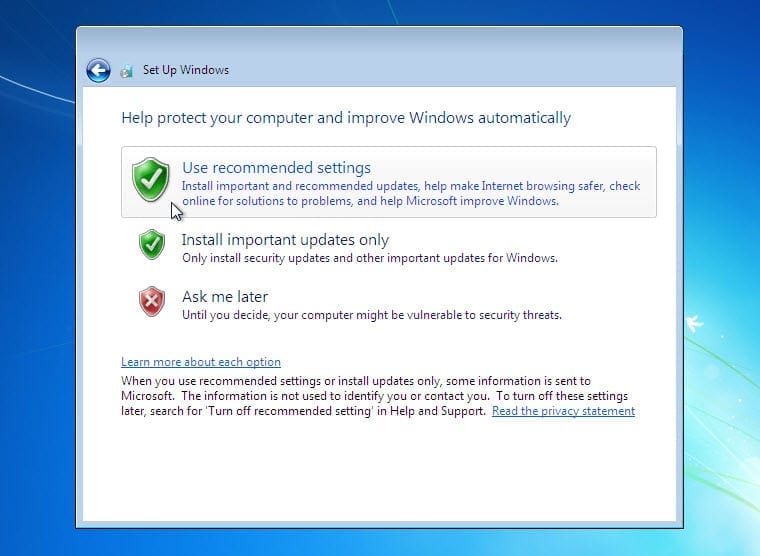
d. In the Help protect your computer and improve Windows automatically window, click Use recommended settings.
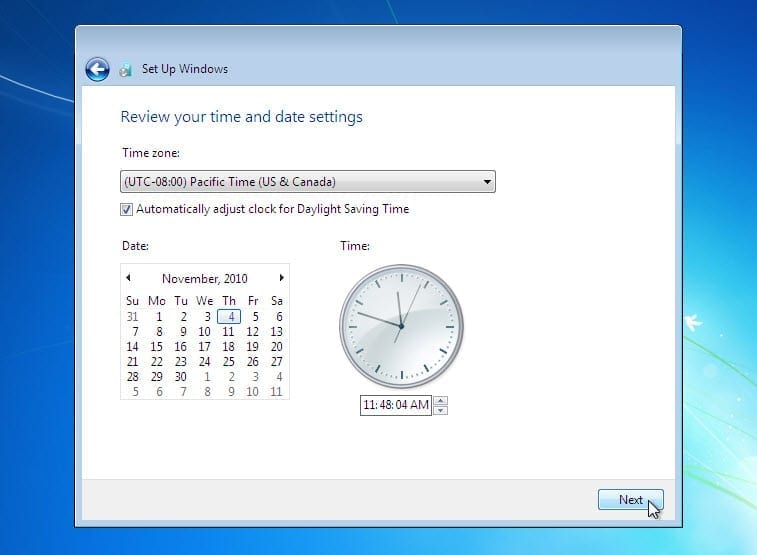
e. In the Review your time and date settings window, configure the computer clock to match your local date, time, and time zone. Click Next.
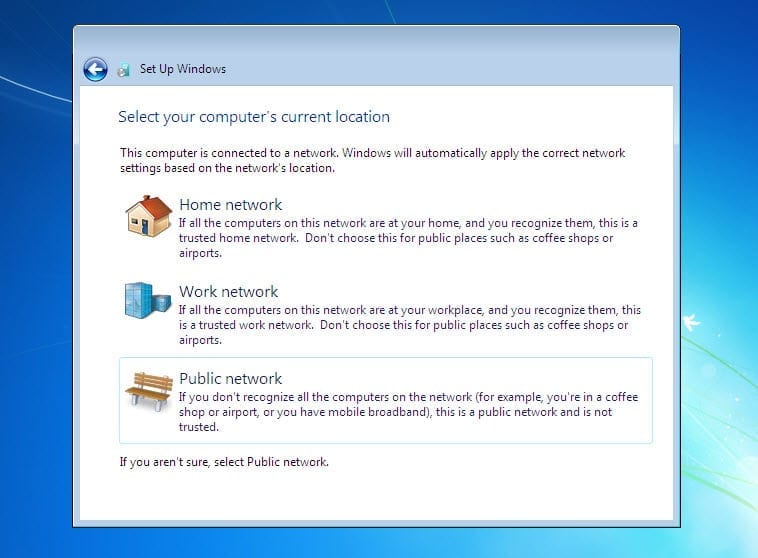
f. The Select your computer’s current location window opens. Select the option provided by your Answer.
Note: This window will not show up if the installation did not correctly install drivers for the network card.
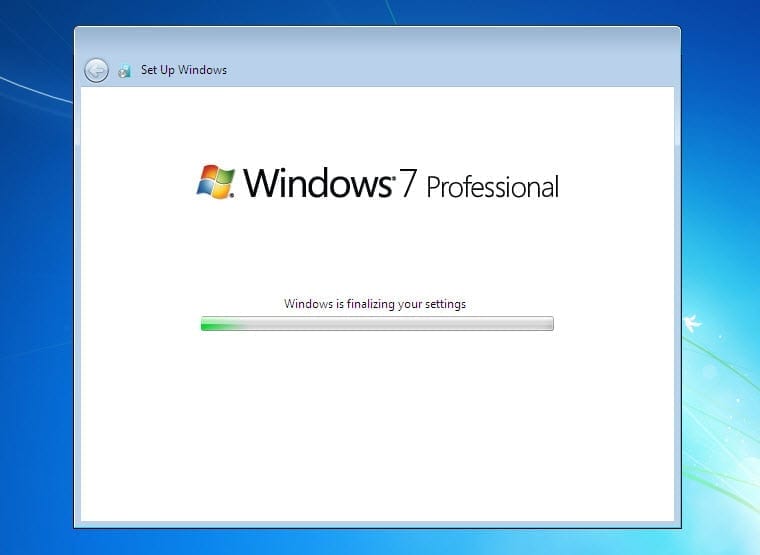
g. The Windows is finalizing your settings window opens.
Step 6: Logging into Windows
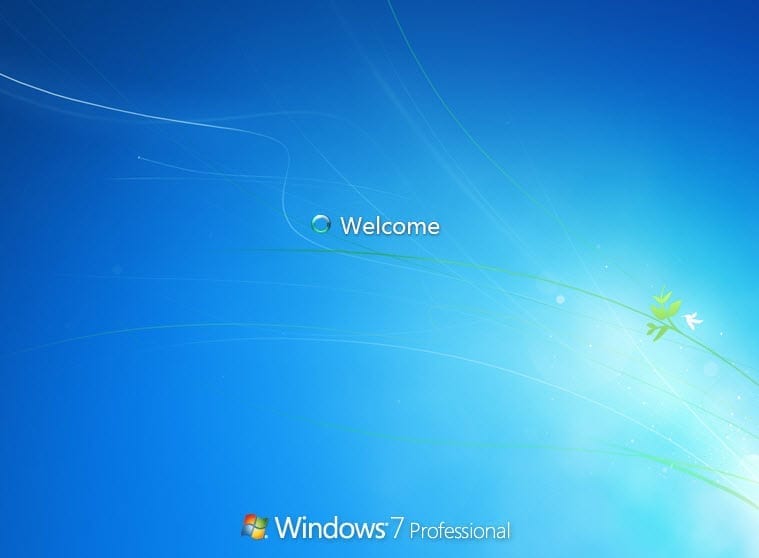
a. The Welcome screen appears.
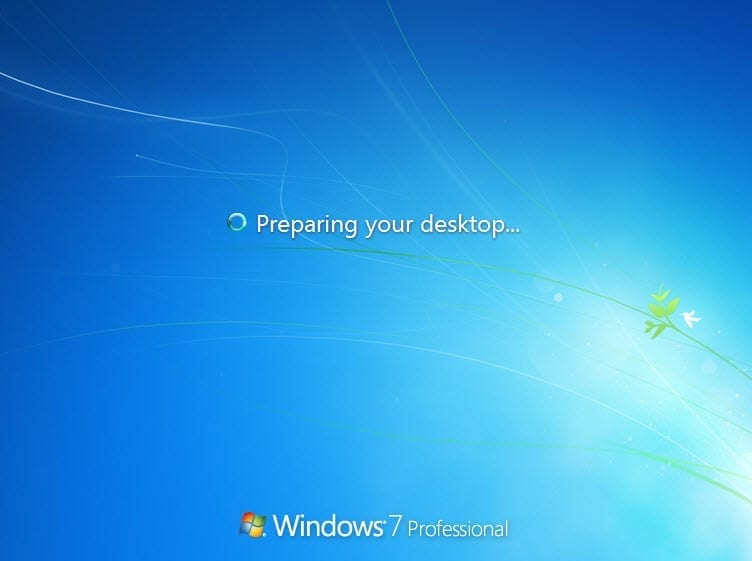
b. The Preparing your desktop… screen appears.
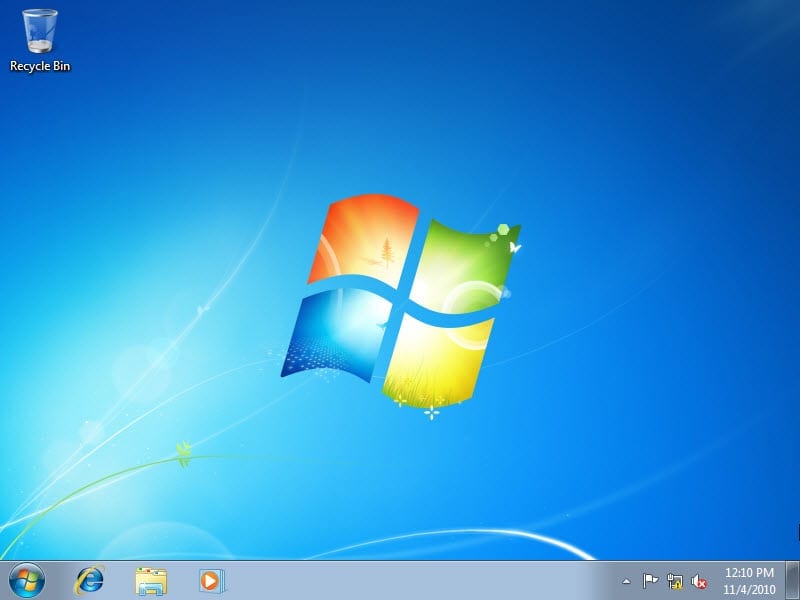
c. You are logged on to Windows 7 for the first time.
Part 2: Windows Vista Installation
Step 1: Starting the Installation Media
a. Insert the Windows Vista installation DVD into the DVD-ROM drive or plug the USB flash drive into a USB port.
b. When the computer starts up, watch for the message Press any key to boot from CD or DVD. Press any key to continue.
If the press any key message does not appear, the computer automatically starts loading files from the DVD.
Answer Note: The computer may boot the DVD without this message.

c. The computer starts loading files from the DVD or USB flash drive.

d. The Windows Vista boot screen appears.
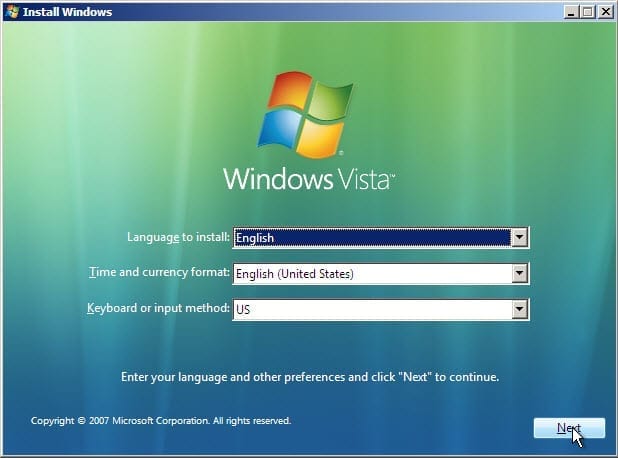
Step 2: Configuring the Initial Settings
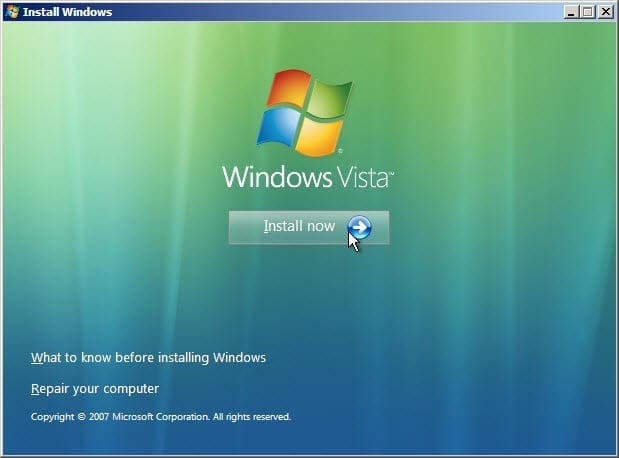
a. The Install Windows window opens. Press Next unless you need to change the default settings.
b. Click Install now to continue.
Step 3: Collecting Information
a. The Type your product key for activation screen appears. On this page, type your product key. Click Next.
Note: You can find the product key on the case or sleeve in which the Windows DVD was packaged, or you can get it from your Answer.
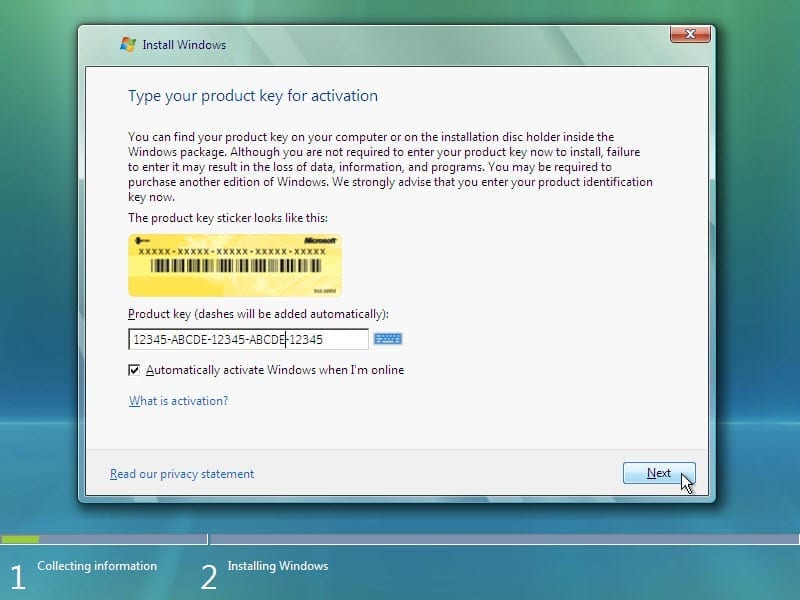
Answer Note: You can optionally enter the product key and choose to have Windows automatically activate the Windows Vista installation and tie the product key to the hardware configuration. If you cannot do this for some reason, then do not type in your product key and do not let Windows automatically activate the installation. Here is a reason why you may not want to do this in a lab setting: In the event that something goes wrong with the hardware, or the operating system is being installed several times during the school year (less than 30 day period); you might not want to automatically tie the product key you received with a particular computer. Instead, you can enter this information later. If this is the case, leave the product key field blank and uncheck the item titled Automatically activate Windows when I’m online. Then, click Next.
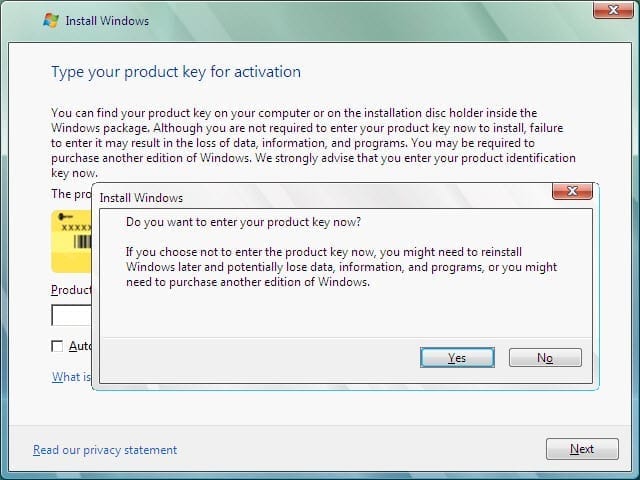
Note: If you entered your product key, Setup will determine the Vista product edition to install and will not display the next two screens. Skip to step d.
b. Because you have left the product key field blank, the Do you want to enter your product key now? window opens. If you were instructed not to enter a product key, click No.
c. Setup now prompts you to select the Vista version you purchased. In general, you should choose the version you purchased, but note that you can install any Vista version listed and experiment with it for a limited time before product activation requires you to activate the version you purchased.
Note: Your product key will only activate the version of Vista you purchased.
d. Select the Windows Vista version that will be installed, check the item title I have selected the edition of Windows that I purchased, and then click Next.
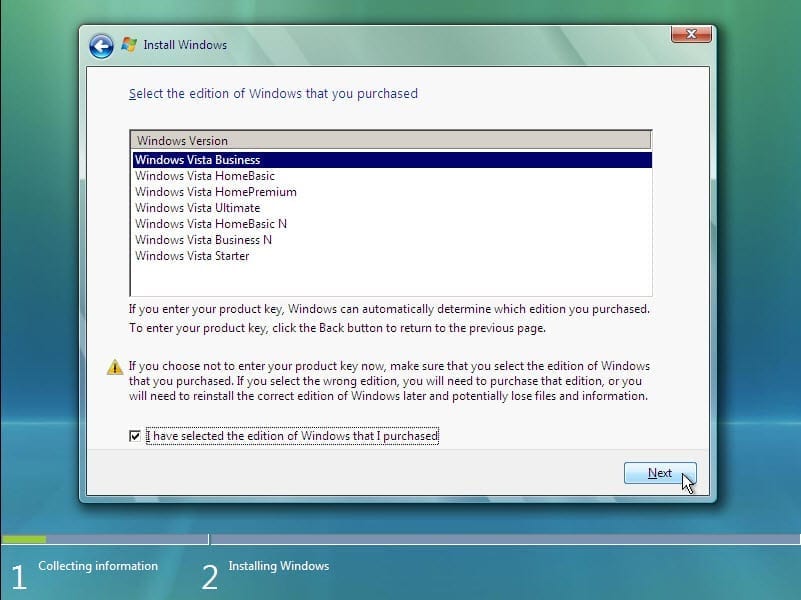
Answer Note: There are many versions of Vista listed. The versions with N at the end of their name are designed for the European Union and do not include Windows Media Player 11.
e. The Please read the license terms window opens. Read and confirm that you accept the license by selecting the box I accept the license terms. Click Next to continue.
f. The Which type of installation do you want? window opens. Click Custom (advanced).
g. The Where do you want to install Windows? window opens. Select the hard drive or partition on which Windows Vista will be installed. Click Next to select Disk 0 Unallocated Space, which is the default setting.
Step 4: Installing Windows Vista
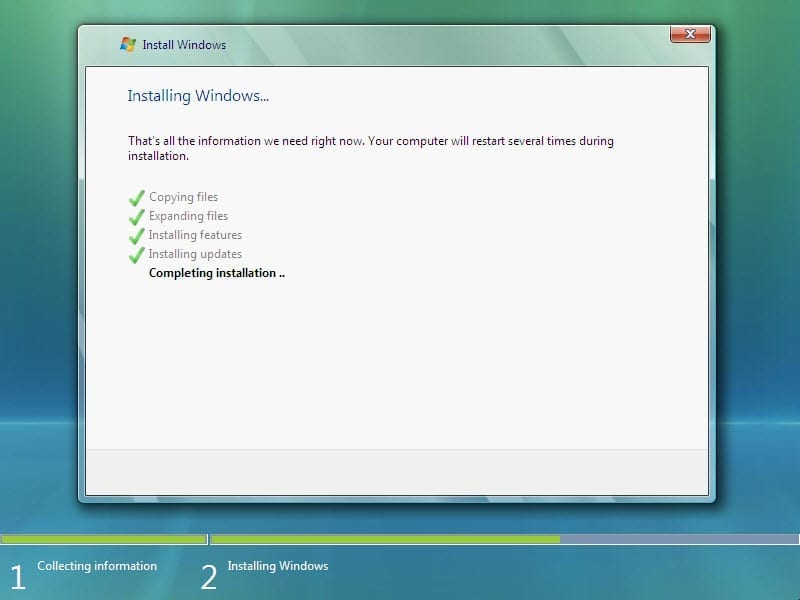
a. The Installing Windows … window opens. Windows Vista Setup may take up to 50 minutes to configure your computer.
b. The Windows needs to restart to continue window opens. Your computer will automatically restart or you can click Restart now.
c. If you get the message Press any key to boot from CD or DVD, do not press any key and Windows will boot from the hard disk to continue the installation.

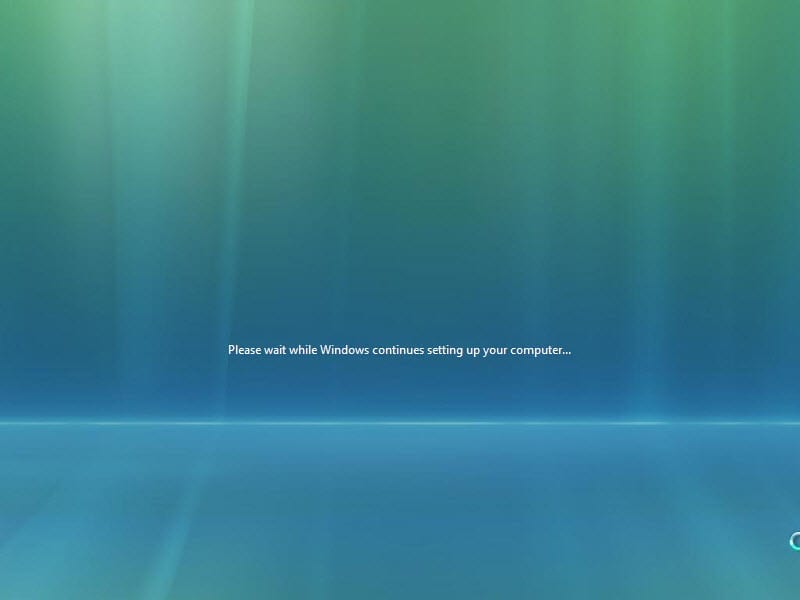
d. The Please wait while Windows continues setting up your computer … screen appears.
e. The Installing Windows … window opens. Windows may reboot a few more times. This may take several minutes.
Step 5: Setting up Windows
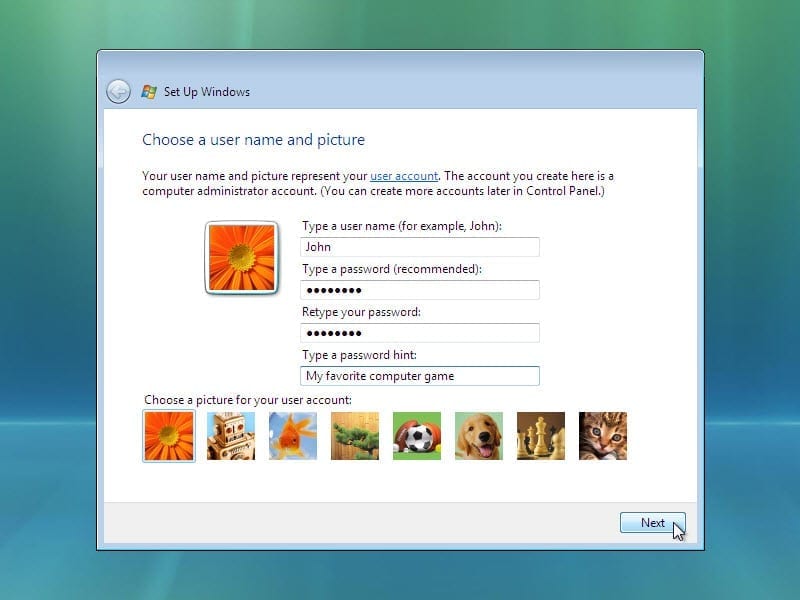
a. The Choose a user name and picture window opens. Type the name provided by your Answer. Type the Administrator password provided by your Answer. When you type in a password, two new fields will appear. Retype the password and the password hint. Click Next.
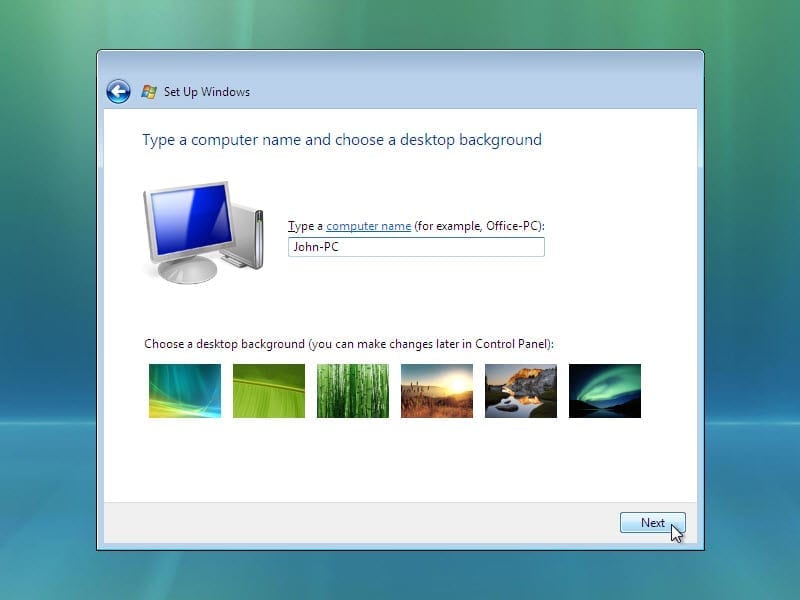
b. The Type a computer name and choose a desktop background window opens. Type the computer name provided by your Answer. Click Next.
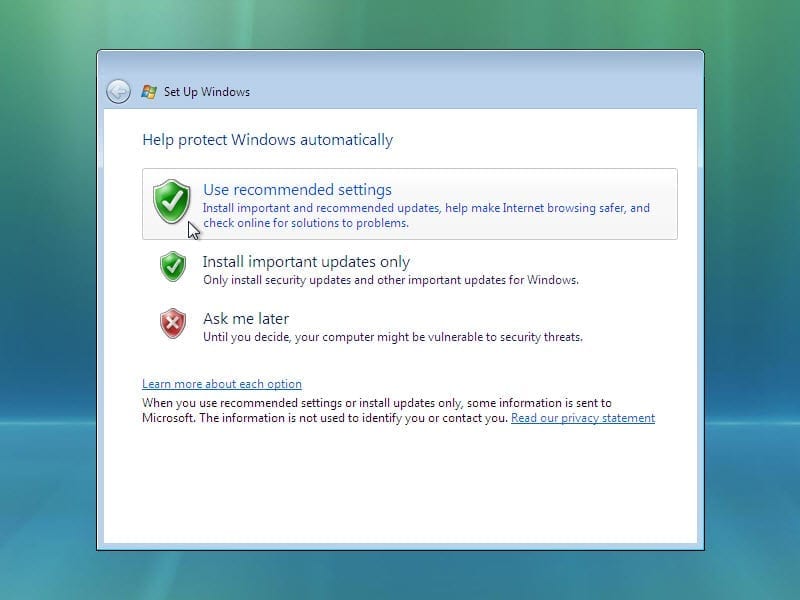
c. In the Help protect Windows automatically window, click Use recommended setting.
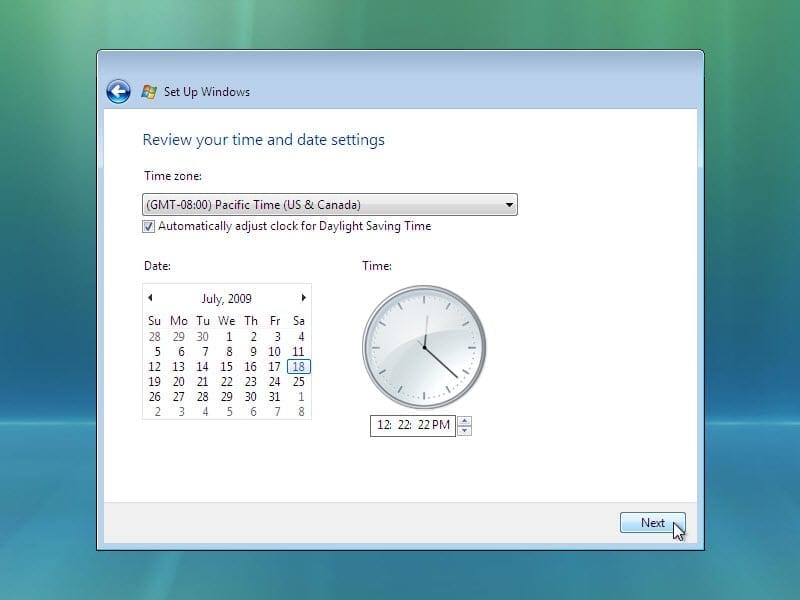
d. In the Review your time and date settings window, configure the computer clock to match your local date, time, and time zone. Click Next.
e. The Select your computer’s current location window opens. Select the option provided by your Answer.
Note: This screen will not show up if the installation did not correctly install drivers for the network card.

f. In the Thank you window, click Start.
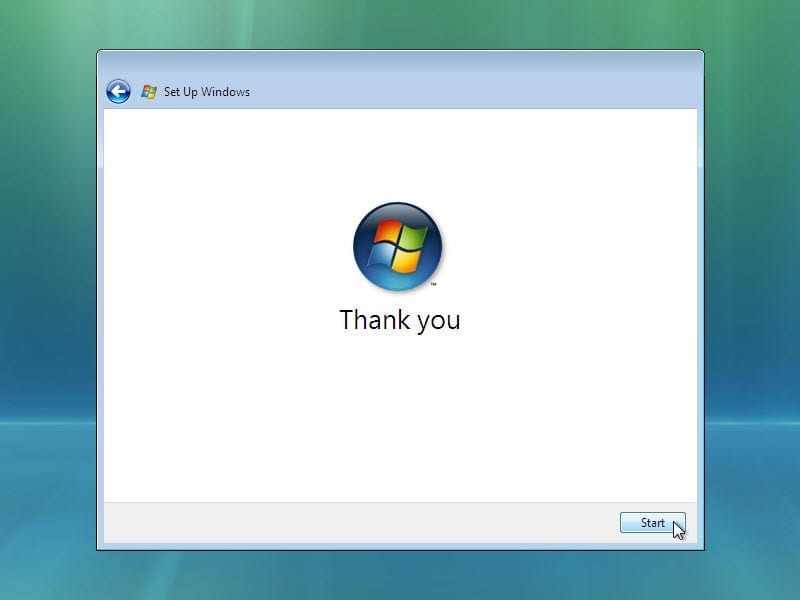
g. The Set Up Windows section is completed.
h. The Please wait while Windows checks your computer’s performance screen appears.

i. Windows Vista boots for the first time.

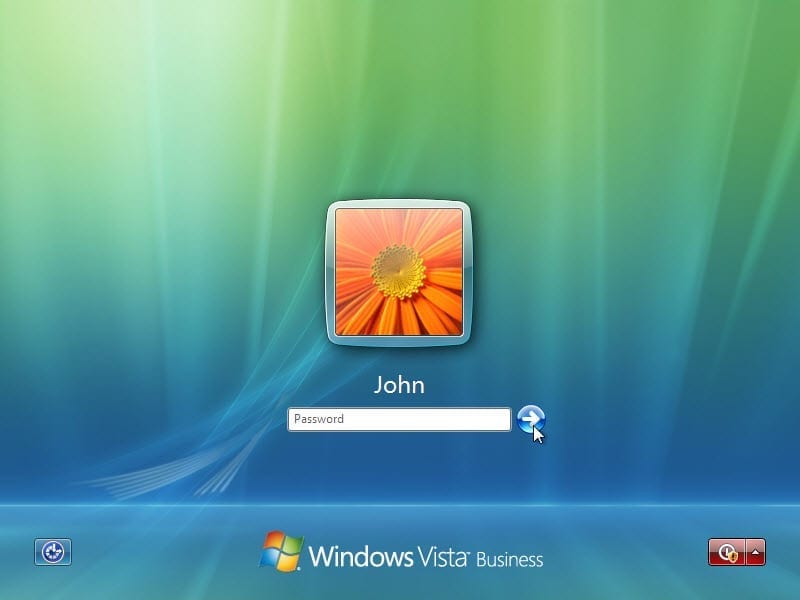
j. The login screen appears. Enter the password that you used during the install process and click the blue arrow to login.
k. The Preparing your desktop … screen appears. Your account profile is created and configured.
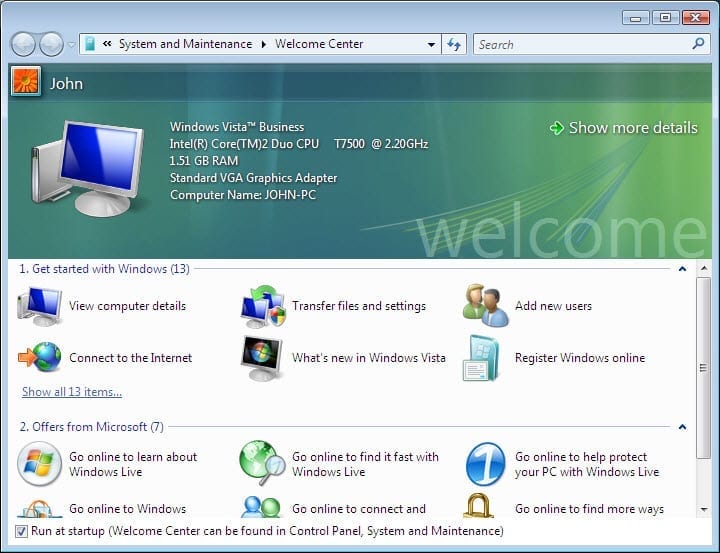
l. The Welcome screen appears. Windows Vista is now installed.